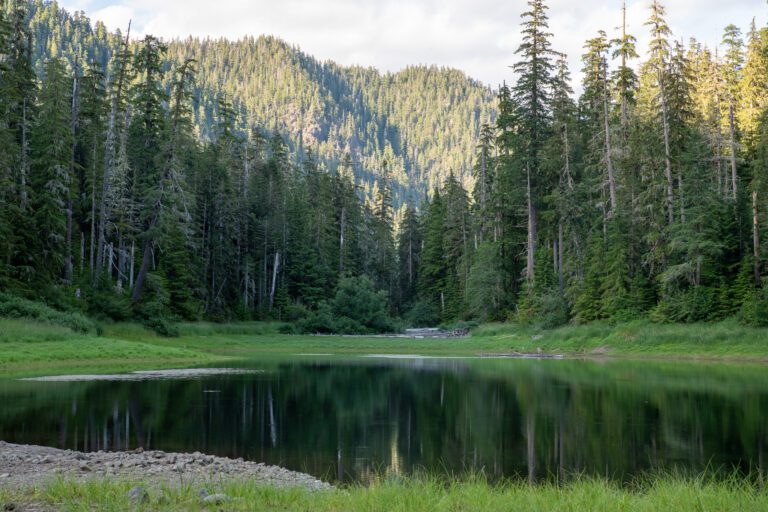
Hummingbirds at Pine Lake, Olympic National Forest. – July 2025
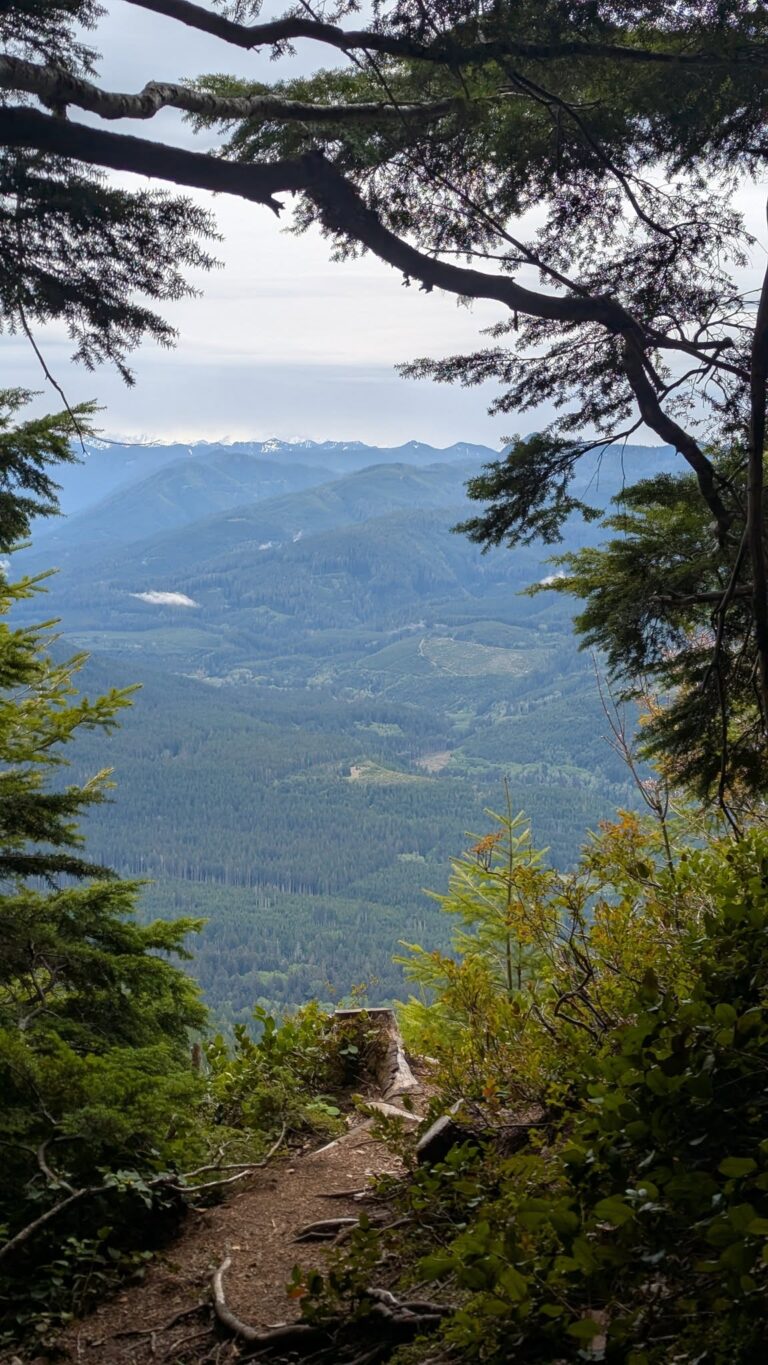
This is an EASY hike, less than 6 miles round trip (if the gate is open, if the gate is closed it is ~9 miles). The altitude gain is only about 790 feet — very manageable. The hike was easy enough that I averaged better than 2 mph on the way in — the uphill […]